Building Your Own Starter

John Scalo
July 15, 2020
If you're brand new to sourdough, the first thing you'll need is a sourdough starter, a yeast culture that kickstarts the fermentation process each time you bake. There are a few ways you might procure your starter. My first starter was given to me by a friend and home baker's are generally thrilled to share theirs, so if you have a baking friend, just ask. I've also found that bakeries are usually happy to share their starter so don't hesitate to walk into a local favorite with a jar and ask for a dollop of their mother starter.
But it's also fun to build a starter from scratch yourself, and that's what this article is about.
Building a starter from scratch takes anywhere from 5 to 10 days. It's easy, but does require a time commitment so make sure you don't have any upcoming trips scheduled. Here's what you'll need:
- A digital kitchen scale
- A large (16 oz) mason jar
- 1 or 2 small (8 oz) mason jars
- High-quality whole wheat, all-purpose (or bread), and rye flours
- A rubber band or dry erase marker
Note
Contrary to popular myth, you won't need to put your starter out on the window sill to attract yeast in the air. All the yeast you need is already in the flour that you bought.
Getting started, day 1
In the morning, combine 100g of lukewarm (~ 80°F/26°C) water with 100g of whole wheat flour in a large mason jar. The contents in the jar can grow up to 2x on the first day so make sure there's plenty of room. With a spoon or small spatula, thoroughly stir the contents together ensuring that no dry flour bits remain. Cover the jar loosely and store in a warm place.
What happens next will depend on the amount and types of yeast embedded in the flour. Often, the contents will double in size within the first 12 hours. This does not mean your starter is ready! In fact, you probably won't see that kind of growth again for at least 5 more days. And if you don't see that kind of activity, not to worry, you'll get there soon.
Important
Starter development is incredibly sensitive to temperature. Yeast research shows that development peaks at around 79°F (26°C). If it's colder than about 73°F (23°C) in your kitchen, try boiling a large glass of water and then put the water and the jar of starter in the microwave and close the door. I find this trick to be almost as effective as a commercial proofing box. Just be sure not to nuke your starter!
Even though you won't be using it yet, now's a good time to prepare your starter mix for regular feedings. In a quart-sized bin, weigh out a flour mix that's roughly 90% white (AP or bread) flour and 10% rye flour. For example if you add 250g of white flour to the bin, add 25g of rye flour. This isn't exactly 90%, but it's close enough.
For the remainder of the day, try to check in on your starter every few hours to see if it's rising in the jar, and, if using the microwave trick, replace the water. At night if it's really cold, try putting the starter in the oven and leave the oven light on.
Day 2
On the 2nd morning you might see a ton of activity or you might see none. Either way is fine, the process is just getting started. If there was noticeable activity over the last 24 hours then it's time to switch to your 90/10 white/rye flour mix. If you haven't seen any activity, then stick with whole wheat.
Discard half of the starter (100g, leaving 100g in the jar), add 100g of lukewarm water, and stir together the remaining starter with the water. Then, add 100g of flour, either whole wheat or the 90/10 mix, and thoroughly mix until there are no dry bits of flour.
The process of discarding and adding back flour and water is called feeding your starter. Don't be alarmed at the amount of waste, once the starter perks up you can start using much less flour.
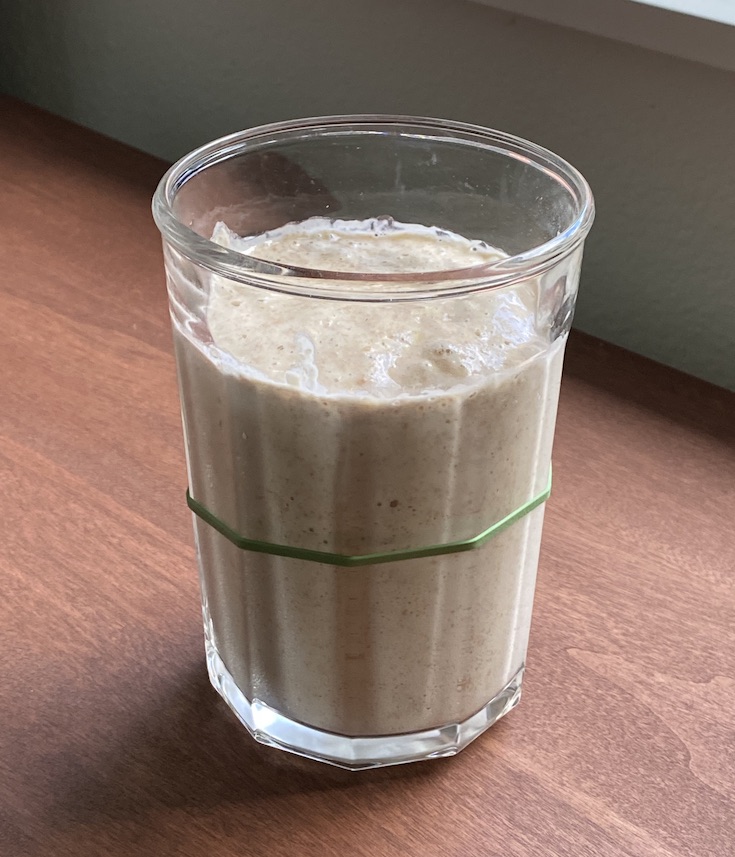
Now's a good time to start marking the starter's progress. Once everything is mixed together, mark the top of the starter contents in the jar, either with a rubber band or a dry erase marker. Again, store the starter in a warm place and check in on it every few hours. If there's activity then the starter will begin to rise in the jar. Mark its new peak with the rubber band or marker.
Day 3
Hopefully by this time you're seeing some bubbles and some growth. If the starter peaked overnight, it might have fallen and will no longer appear bubbly, and that's fine. Feed your starter as above, only switching to the 90/10 white/rye flour mix once there's noticeable growth and bubbling.
While watching and marking your starter, you should begin to notice a rhythm of peaking and falling. If your starter is peaking within 12 hours, then it's ready to move on to the next phase. If not, keep feeding it as above until it does.
The next phase — smaller feedings
Once your starter is peaking within 12 hours, it's healthy enough to reduce the overall volume and switch to twice-a-day feedings.
During this time, you'll discard all but 20g of the starter, then add 20g of lukewarm water, stir it together, then add 20g of the 90/10 white/rye flour mix, and mix. Continue to store the starter in a warm place and monitor its progress.
Continue with this schedule each day until your starter is doubling in volume at its peak. Once its doubling within 12 hours, your starter is ready to bake with!
Ongoing starter maintenance is a little different. When you're ready, take a look at our Starter Care 101 article to learn all about maximizing starter strength to getting the best rise possible for your bread.
Get Rise from the App Store
Requires iPhone or iPad running iOS 16 or later.